Showing posts with label jewelry. Show all posts

Sunday, February 3, 2013

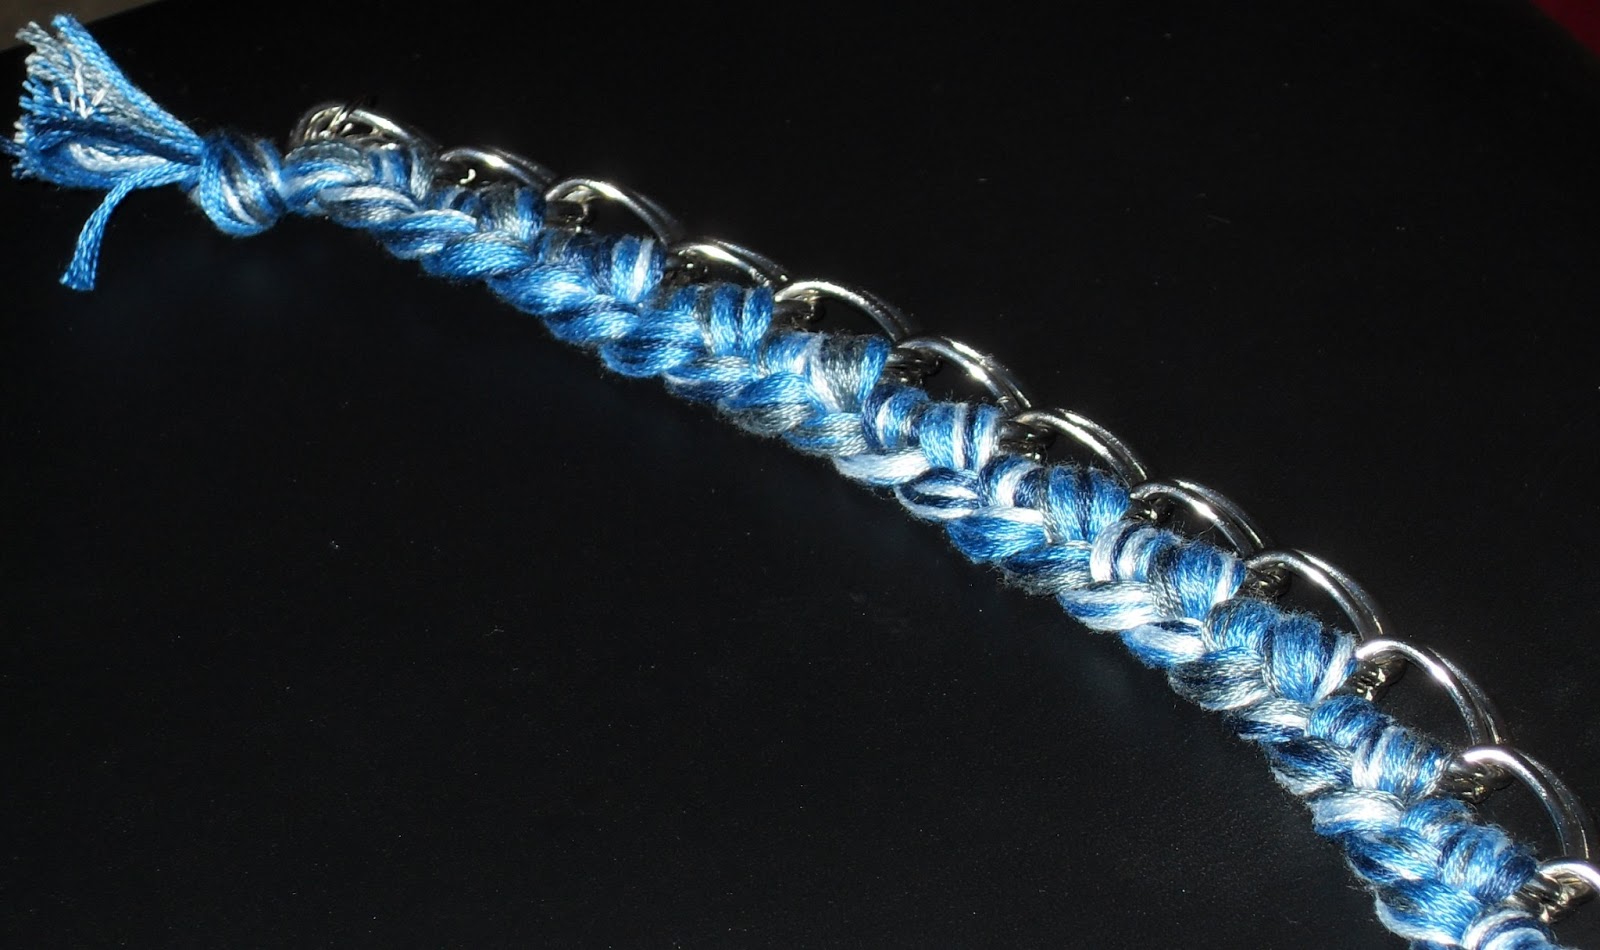
Woven Chain Bracelet

via honestlywtf 

Blue is my favorite color.  Most crafts I do, end up being blue.  I'm not terribly diverse that way.

Personally, I didn't want to shell out $40 for the base bracelet on this (link here), so one 11pm trip to Walmart I found a base I liked for only $3 (and I have 60% of the chain left over, shazam!).

I think mine turned out decently well, and I'm getting better at taking pictures with my camera.


Materials


Cut 2 sets of 15 strands of embroidery thread.  I had 5 various blue shades, so I used 3 of each per side.  She recommends to make the length of each strand 4x bracelet length, but since my chain wasn't as dense I only needed about 3x.  Knot all the threads at the top, leaving about 2" of slack (which you'll trim down when you're done with the braclet).  so I wouldn't have to separate out my strands again, I bobby pinned the sides before I knotted at the top.  

Lay the threads on the left side of the bracelet.  Pull the first color (set on the right) from under the first link and over the top of the left side.


Lay the second color (left side) over the first.  Pull the second color under the same link and over the top again.  Continue until you reach the last link.

I didn't want mine to be quite so chunky, so even though I used a smaller bracelet I wove through each link twice, but if you're using a smaller chain like mine, she has another picture for weaving once through each link - 


I think that looks very pretty too :-)


Mine turned out decently thick, imo.

At the end, finish with a knot and trim the ends.


Monday, April 30, 2012

Your Grandmother's Charmer

After I did the two necklace posts last week, I had an insatiable itch to make another one.  Here's my description on Etsy:


Inspired with charms and popular colors from the 1940s and 1950s, when my grandmother was young, beautiful, and in her prime (in her mid 20's).  My grandmother is very delicate, and wears only the lightest of jewelry in her elder years.  She collects Swarovski crystals and bird sculptures of every color, size, and species all over her home.  If I had to turn some of the most rememberable things about my grandmother, her beauty, delicate nature and features into a necklace, this would be my grandmother.


And here are a few pictures - 


Tuesday, April 24, 2012

Ren Faire Necklace

Ren Faire Necklace

follow-up to previous post (Punk Rawk Princess necklace), this is my other creation!


This ended up MUCH thicker, and is not nearly as sleek and elegant as the last one.  

Close-up of the charms:

I have a thing for crowns... ma-bad...

Punk Rawk Princess Necklace

Punk Rawk Princess Necklace

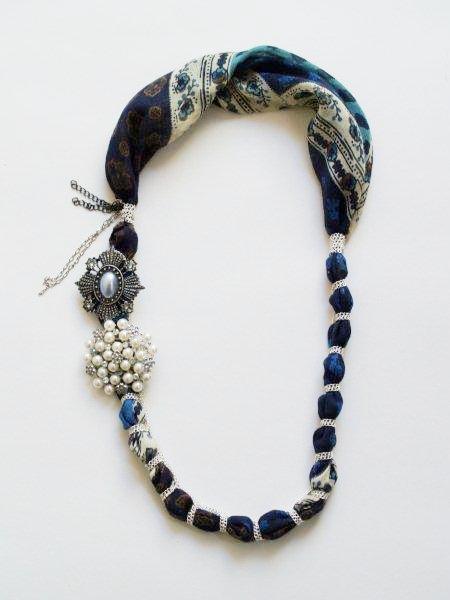
via Flamingo Toes Anthro Necklace Week of the Paisley Rebirth Necklace

I don't really like the original Anthropologie one... I'm quite a fan of their redo, and I think mine isn't quite so ... cute and chic?  I dunno.

This is hers once she finished it:

So pretty in blue
This one is mine:

I thought it'd be neat to pose it on top of books


It is *highly* recommended that you have a sewing machine to do this, otherwise it's a big pain in the bootang.

Required Materials
  • Scarf or lightweight fabric 
    • If you use a scarf, and it's anything other than paper thin you should cut your material in half width wise
  • Chain of your preference, the thinner the better, 4 yards
    • I used gunmetal, she used silver
  • Small pieces of different chains or bangly/dangly items
  • 2 large awesome pieces of decoration
    • she used beaded pieces, I used charms; Michaels or Hobby Lobby recommended
  • Needle and thread matching the color of the fabric you're using
Picture of her materials
Now, you'll need to cut your fabric to size.  She used a 33" x 12" piece.  I used this same size on another necklace, and I should've used 6" wide instead (or less).  It came out looking like something more appropriate for a ren-faire.

With the right sides together, sew the rectangle into a long tube and turn right side out.


Then at this point, turn the raw edges under and overlap them, then sew together (to complete the circle).  Then squish it around to look like this:

Put the seam towards the left side (if you were looking at it from this perspective) where you'll place one of your charms, covers up the seams quite nicely.

Double up your chain so it's about 2 yards long.  You'll start chaining on the right side, opposite of where you placed the seam, but 1" more up.


Wrap the chain around the fabric tube twice. Feed the other ends of the doubled chain through the halfway point loop and pull. Don’t pull super tight – you don’t want to stress the chain – but so that it is snug against the fabric.


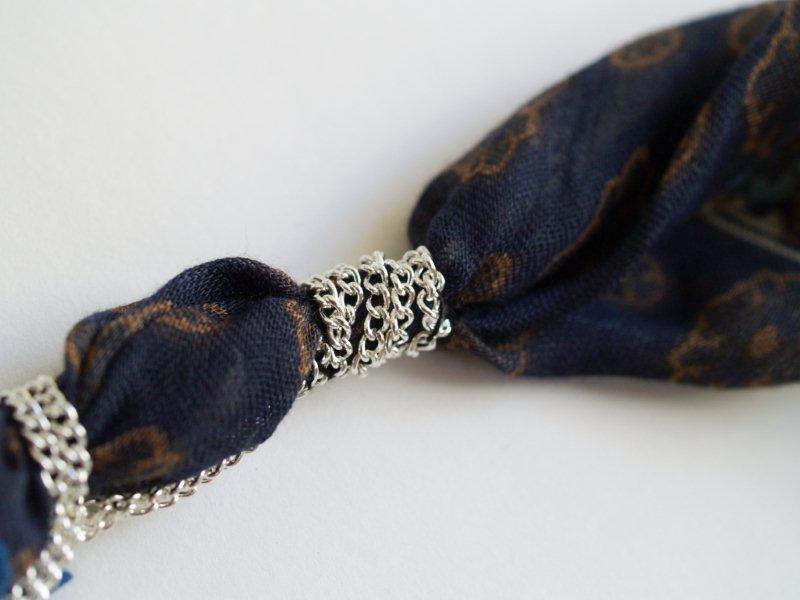
Whee, knot!
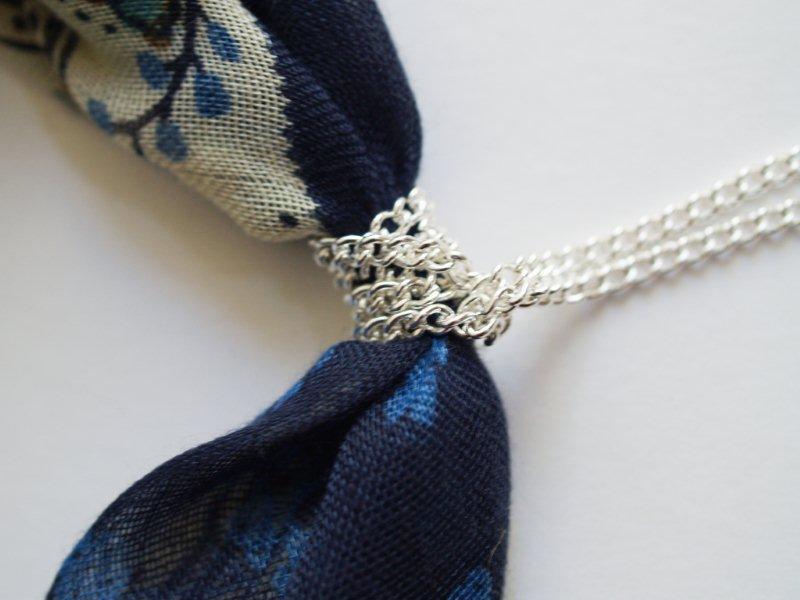
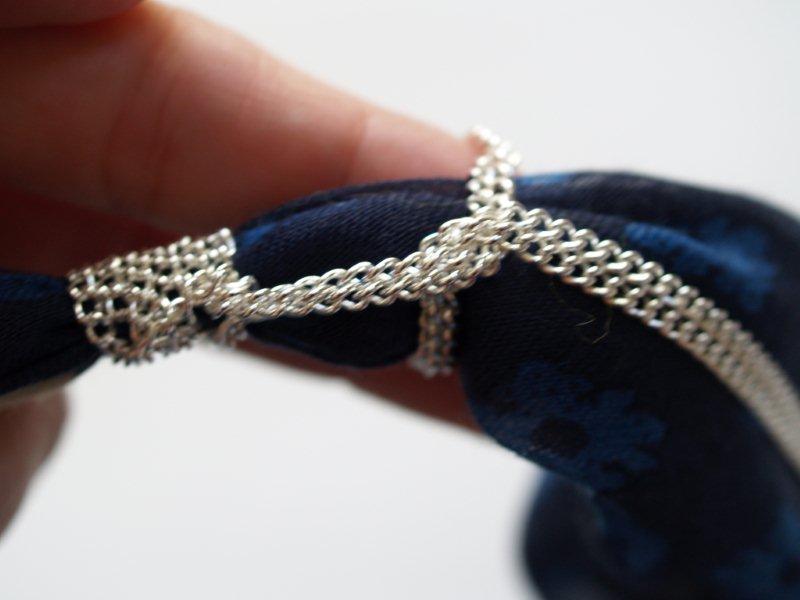
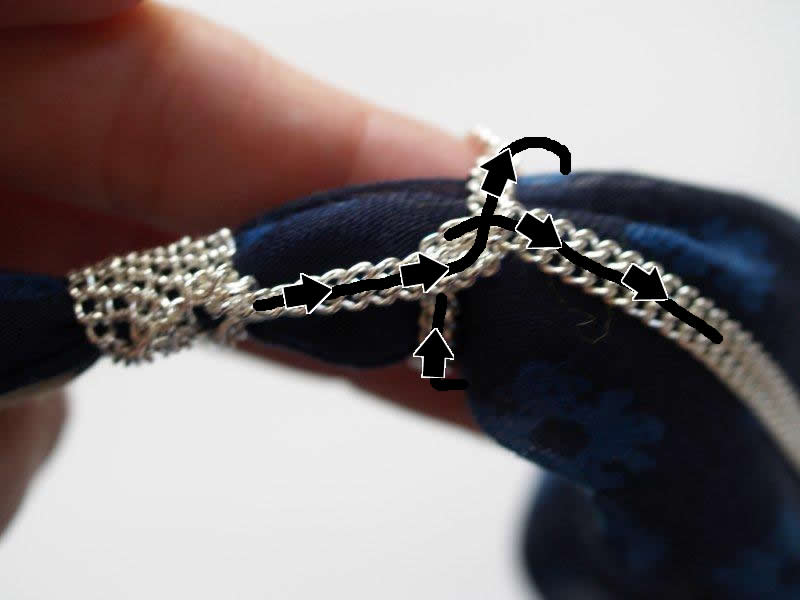
She recommends 1" of spacing between each chain knotting spot.  Be sure to scrunch up the fabric a little bit in-between to give it that extra bit of "poufiness".  So!  Lay the chain along the fabric for about an inch. Hold the chain at that point. Wrap the chain around the fabric tube. Bring the ends up and run them under the wrapped part and pull snug. 

Should look like this when you finish each knot
Handy dandy arrow-drawing instruction.  Super handy!
Keep doing this until you get to just above the seam point on the other side.  When you get there, wrap the chain around it four times.  Sew down the end of your chain, and trim off any extra.

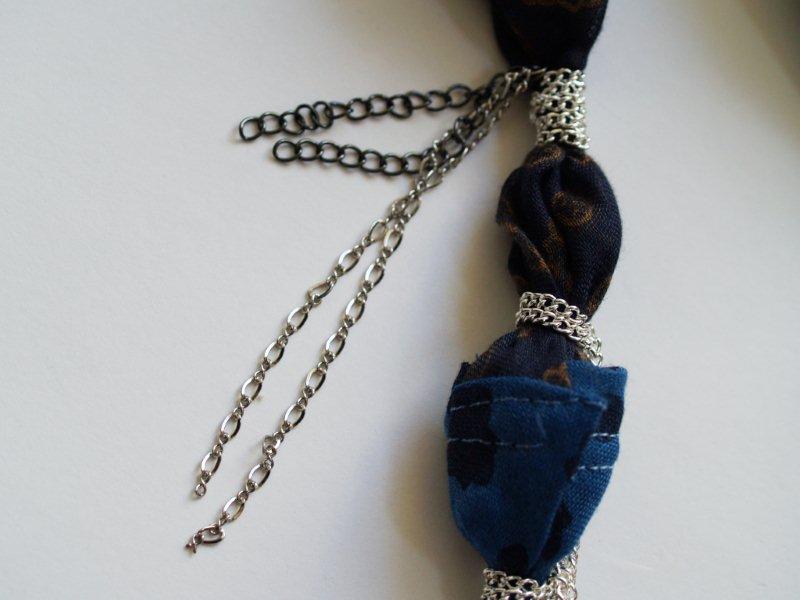
Tied off
If you're using chain pieces, fold them in half, and sew those points to the tied off original chaining.


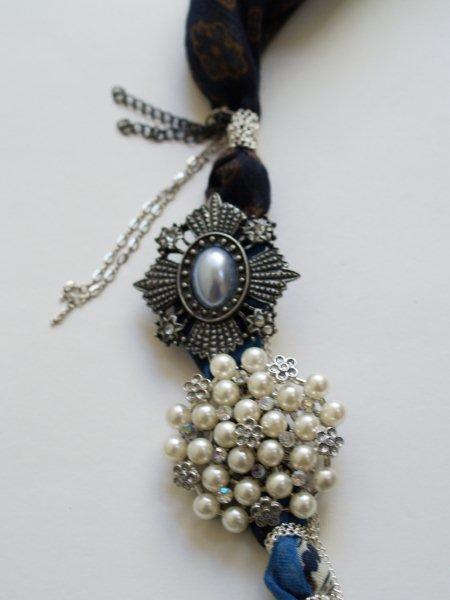
Sew on your large beaded pieces on the left side, making sure you cover up the seam. If you are using pins, pin AND sew them on.  I have bad luck and my things always fall off unless I completely ensure they won't move an inch.

And she pinned hers like so:

Isn't that pretty!?

Here's a close up of my pins:

Piece of black chain, very big bubble chain, heart charm, and  wing with a bow and pink bead on the end of it.

I've basically worn it once and I'd love to sell it to someone who'd strut this awesome thang around.  I'll put in on my etsy store (keep meaning to do that!)

Let me know your thoughts!  I bought more charms on sale (50% off) at Hobby Lobby today :-D


**UPDATE** just listed on etsy!  Go check it out. Etsy Listing

Wednesday, March 28, 2012

Jersey Bracelet

Jersey Bracelet

from V & Co.

I love this bracelet.  I mean LOVE it.  Even <3 it.  I'm the biggest fan of comfy-ness out there (I even held on to a fortune I got when I was 12 in my wallet).  Most jewelry is not "comfortable" but it is attractive.  This is great for me :-)

I've only ever made the 2 finger version of this, it was large enough around my wrist that I didn't want to make anything bigger.

I did the size on the right, with the color in the middle.
You will need approximately 3 strips of jersey fabric (cut on the thin side unless you prefer a monster sized bracelet) 1" each is their recommendation, at 58" long minimum.  Then you just need a hand.


First step is to cut an eyelet to start out in two of your three strips.


They measured it out to a 1/4" slit, but I just did a tiny snip with my scissors, no measuring involved.

Match them up,


Overlap,


Then you pull the third strip through,


And pull gently until you get a knot that looks like this:


Then you'll start weaving the knit around your fingers like so:


After you've looped around your fingers, you'll overlap (two fingers above, four fingers left)


And then start "weaving" 


If you can't tell (took me a few tries until I was sure) you're pulling the originally looped knit OVER your finger, and over the overlap knit shown in the previous picture.

After you've done the looping a time or two, it'll begin to look like this:


And after you've done MANY loops, it'll begin to look like this:


Be sure to tug on the tail so that it makes the chain more defined (stretched out straight instead of scrunched up).

Once you've determined it's long enough, I always manually wrapped it around my wrist, carefully pull the loops off your fingers, and don't accidentally drop them:


Slip the extra tail through both loops


Pull through, and gently tie it off with a knot.


And voila!